

7 Tips for Buying Pink Clothing Donation Bins

Pink Clothing Donation Bins can make textile reuse visible, but color alone does not make a collection program trustworthy. A bin beside a grocery entrance may attract attention. Its location, capacity, weather protection, and pickup schedule help determine whether clothes stay clean and usable. Buyers should check those details before comparing finishes or prices. Small details matter.

The U.S. Environmental Protection Agency’s 2018 materials report estimated that 17 million tons of textiles entered the U.S. waste stream. About 2.5 million tons were recycled, while 11.3 million tons went to landfills. These figures cover all textiles, not donation-bin performance. They show the scale of the challenge, not a guaranteed result for any single bin. Fashion Revolution co-founder Orsola de Castro has said, “The most sustainable garment is the one already in your wardrobe.” Her reminder connects clothing reuse with the goal of keeping garments in service longer. Yet bins can overflow, let rain soak donations, or confuse people when signs lack clear instructions. That is easy to overlook. A careful purchase should account for sturdy materials, secure access, visible signage, and a documented collection plan. This guide presents seven practical tips for choosing Pink Clothing Donation Bins, from size and placement to maintenance. A pink finish may catch the eye, but reliable service is what makes the bin useful. One purchase will not solve textile waste. It can still make donating easier.
7 Tips for Buying Pink Clothing Donation Bins

Understanding the Purpose of Pink Clothing Donation Bins

Pink clothing donation bins give unwanted garments a visible, convenient place to go. Their purpose is more specific than collecting fabric: they can connect wearable clothing with reuse, while directing damaged textiles toward suitable recovery where local services allow. The pink color helps people spot a collection point, but clear instructions matter more. A sign should explain what items are accepted, how to bag them, and whom to contact with questions. Small details count. A wet, overflowing bin can discourage donations and damage clothing.

The scale of textile waste shows why these collection points can matter. The U.S. Environmental Protection Agency’s 2018 Advancing Sustainable Materials Management report estimated that 17 million tons of textiles entered the municipal solid waste stream. About 2.5 million tons were recycled. That is roughly 15 percent. The figures cover textiles broadly, not clothing alone, and they do not show what any particular bin achieves. Still, they point to a real recovery gap.

A donation bin works best as part of a transparent collection system. Operators should check it regularly, keep the surrounding area clean, and explain how collected items are sorted. Some garments may be reused; others may be unsuitable for donation or recycling. That distinction deserves honest communication. A bin is not a guarantee of a second life. It is one practical step—and sometimes the system behind it needs closer scrutiny.

Assessing Capacity, Location, and Collection Needs

Tip 1: Estimate weekly donations before choosing a bin. A small site with steady traffic may need less capacity than a busy community center. Check how quickly bags accumulate during peak periods, such as spring cleaning. Leave room for bulky coats and uneven donation loads. Capacity estimates are never perfect.

Tip 2: Choose a visible, practical location. Place the pink bin near a natural walking route, with clear access for people carrying bags. Keep it away from narrow entrances, parked cars, and spots that collect standing water. Keep it reachable. A bin that is easy to see but awkward to approach may receive fewer donations.

Tip 3: Match collection frequency to volume and access. Ask the collection team how much space they need beside the bin and how often they can visit. A full container can discourage donors, while overly frequent pickups may waste time and fuel. Small details matter. Track fill levels for a few weeks, then adjust the schedule; the first estimate may be off. Check that the drop opening suits typical clothing bags, and make the accepted items easy to understand with clear, weather-resistant instructions.

Comparing Materials, Weather Resistance, and Durability

A pink donation bin may sit outdoors for years, so compare its material before judging appearance. Powder-coated steel feels rigid and resists dents, but scratches can expose metal to moisture. Inspect corners, hinges, and welded seams; these areas often show wear first. Check the coating for even coverage. Check the seams. Plastic bins made from UV-stabilized polyethylene resist rust and handle rain well. However, thin plastic may flex under heavy use or become brittle after prolonged sun exposure. Ask about wall thickness and whether the lid is reinforced, not just the body.

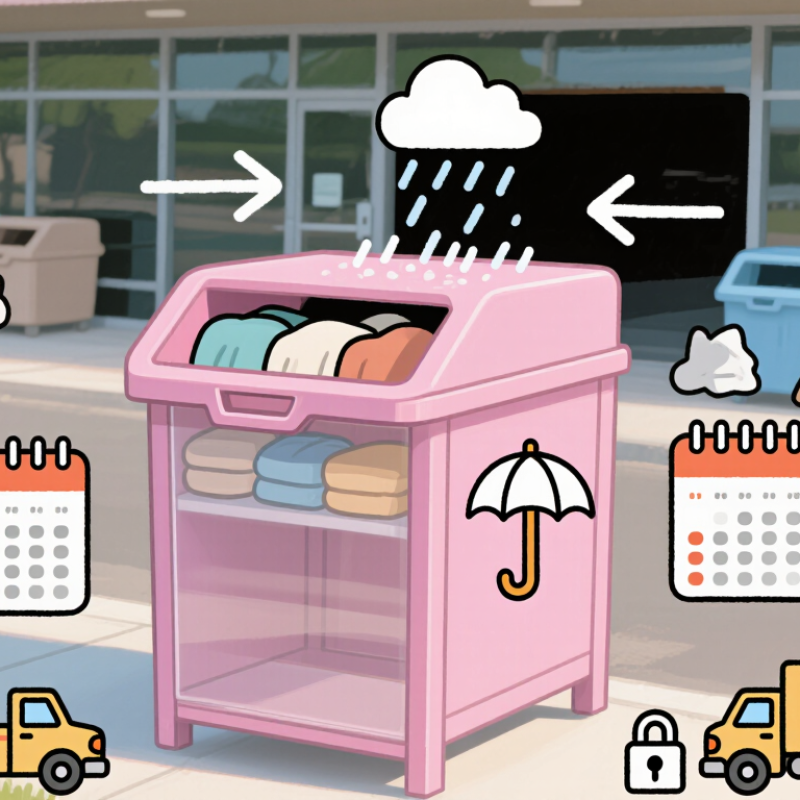
Weather resistance depends on more than the shell. A sloped lid helps shed rain, while covered hinges and a raised base reduce water entry and ground contact. Look for drainage that directs water away from stored donations. That matters. Durability also comes from practical details: a secure door, sturdy handles, and fasteners that can be tightened or replaced. If possible, inspect a sample after it has stood outdoors, rather than relying only on a product sheet. A small wobble may seem harmless in a showroom. On uneven pavement, it can become a daily nuisance. I would not assume the heaviest bin is always best; weight, repairability, and local weather all deserve a closer look.

Checking Security, Accessibility, and Clear Signage

Tip 1: Check security before choosing a bin. Look for sturdy construction, well-fitted doors, and a deposit slot that discourages reaching inside. Inspect hinges and the lock in person; a slightly loose latch can be easy to miss. Ask who keeps the keys and how often donations are collected. Place the bin where staff can see it, rather than in a hidden corner. Small details matter.

Tip 2: Make access comfortable for different users. Set the bin on firm, level ground with a clear path from the sidewalk. Leave room for someone carrying a bag to stop without blocking a doorway. Check the slot height with a range of users, including someone seated. Avoid steps and narrow approaches. Rain changes everything; a puddle near the opening can make drop-offs awkward.

Tip 3: Keep signage clear and readable. Use large, high-contrast lettering to explain accepted items, drop-off hours, and whom to contact when the bin is full. Test the sign from several paces away and in low light. Glare is easy to overlook, so a matte finish may be more readable in direct sun. Ask someone unfamiliar with the location to review the wording; confusing instructions can seem obvious only to regular users.

7 Tips for Buying Pink Clothing Donation Bins

Use this suggested priority scale to compare bin options, paying particular attention to security, accessibility, and clear signage.

How to read this chart: Scores are suggested planning priorities, not survey results or industry measurements. Adjust them to fit your site and donation program.

Evaluating Costs, Suppliers, and Ongoing Maintenance

Pink donation bins can attract attention, but their purchase price is only part of the cost. Compare quotes for the bin, delivery, installation, and any site preparation. A heavy unit may need a reinforced pad, while a lightweight model could shift in strong wind. Ask whether the quoted price includes clear donation instructions and weather-resistant decals. Small details matter.

Check suppliers for practical experience with outdoor collection equipment. Request material specifications, warranty terms, and references from organizations using similar bins. Ask for proof. A sample color swatch can prevent surprises; pink may look different under direct sun than in a showroom. Confirm lead times and how replacement parts are handled. A low quote is not always a bargain if repairs take weeks.

Plan maintenance before placing the order. Assign someone to inspect the bin regularly for sharp edges, loose hinges, faded labels, and water around the base. Set a collection schedule that matches actual donation volume, since an overflowing bin can quickly look neglected. Ask suppliers which cleaning products are safe for the finish, and whether hardware needs periodic tightening. I have seen budgets account for delivery but overlook staff time; that estimate can be wrong, so track service hours during the first few months and adjust the plan.

7 Tips for Buying Pink Clothing Donation Bins - Evaluating Costs, Suppliers, and Ongoing Maintenance

Budget figures below are indicative U.S. planning estimates, not supplier quotes. Actual prices depend on bin size, materials, freight, location, and installation requirements.

Tip What to Evaluate Practical Checks Indicative Cost Ongoing Maintenance
1. Set a complete budget Compare the delivered and installed cost, not just the advertised bin price. Request separate pricing for the bin, pink finish, freight, anchoring, installation, and any site preparation. A basic outdoor steel unit may be budgeted at roughly $500–$2,000 or more before site-specific work; confirm current local quotes. Include routine checks, cleaning, repairs, and collection visits in the operating budget.
2. Choose a suitable size and capacity Match capacity to expected donation volume and how often collections can be made. Check external dimensions, access-door clearance, loading method, and whether the location can accommodate the unit without blocking paths. Larger or reinforced designs generally cost more; compare like-for-like specifications rather than price alone. A well-matched capacity can reduce overflow, emergency callouts, and unnecessary collection trips.
3. Verify materials and pink finish Assess weather resistance, corrosion protection, and how the color is applied. Ask for material and coating specifications, care instructions, and finish warranty terms. Check whether the pink finish is suitable for the intended outdoor exposure. Custom color or upgraded coatings may add to the base price; request the added cost in writing. Inspect for scratches, rust, fading, and peeling. Clean with materials recommended for the coating.
4. Compare suppliers carefully Evaluate capability, documentation, delivery terms, and after-sale support. Request an itemized quote, specification sheet, lead time, warranty details, references, and confirmation of replacement-part availability. Compare at least three written quotes with matching dimensions, materials, finish, shipping, and installation scope. Confirm who handles repairs and how quickly service or parts can be provided.
5. Check access, safety, and permissions Make sure the proposed site is suitable for donors, collections, and the surrounding property. Get property-owner approval and check local rules, fire access, pedestrian routes, vehicle access, anchoring needs, and any applicable permits. Site preparation, permits, or special installation can create additional costs that vary by location. Keep the surrounding area clear and promptly address hazards, loose fixtures, or blocked access.
6. Plan collection and overflow control Establish who collects donations and how collection frequency will respond to demand. Set a documented schedule, identify a contact for reports, and define what staff should do if the bin is full or donations are left outside. Collection costs depend on route distance, labor, load size, and visit frequency; obtain a local operating estimate. Track overflow and missed collections, then adjust visit frequency based on actual use.
7. Create a maintenance routine Protect the bin’s condition and keep it clean, secure, and usable. Assign responsibility for regular visual inspections of doors, locks, hinges, anchoring, labels, finish, and the area around the bin. Set aside a repair reserve based on local labor and parts costs; obtain estimates for common replacement items. Record inspections and repairs, clean as needed, tighten or replace damaged hardware, and arrange coating repairs before corrosion spreads.