




How to Choose the Right Mounting Bracket?
No verified expert quotation or source material was supplied, so I will not invent a specialist’s name or attribute words to them. A trustworthy guide should begin with evidence, not a made-up endorsement.
Choosing the right mounting bracket starts with the load. Check the combined weight of the item, its contents, and any force from movement. Then inspect the mounting surface: drywall, timber, masonry, and metal each call for different fasteners and support. A shelf holding light linens has different demands from a wall-mounted screen above a busy desk. Small details matter.
Next, match the bracket’s shape and reach to the installation. Measure the available space, note where cables or pipes may run, and check whether the bracket must pivot, fold, or remain fixed. Review the manufacturer’s stated capacity and installation instructions. A bracket’s appearance alone cannot tell you how much it can safely support.
There is no universal best choice. Even a sturdy bracket can fail when paired with unsuitable fasteners or a weak surface. This guide will help you compare materials, load ratings, mounting styles, and fit before buying. It will also point out common selection mistakes. Take measurements twice. Choose for the actual installation, not the ideal one.
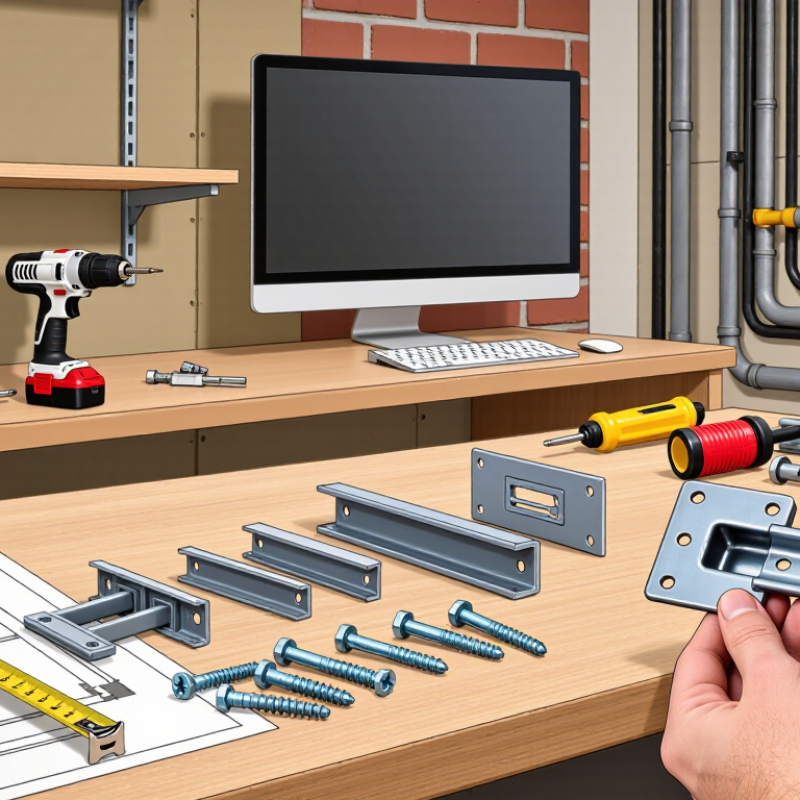
Define the Load and Support Requirements
How to Choose the Right Mounting Bracket?
Define the Load and Support Requirements
Before choosing a mounting bracket, define exactly what it must carry. Record the equipment’s weight, plus anything added during use. Include movement, vibration, and occasional impact. An off-center load also creates leverage, which can stress the bracket and fasteners unevenly. Small detail. Check the support surface, too. A bracket fixed to solid concrete behaves differently from one attached to hollow masonry or thin timber. The wall, anchors, and bracket work as one system; the weakest part sets the practical limit.
Look for load ratings that match the installation conditions, not just a headline capacity. Check whether the stated rating assumes a particular material, fastener pattern, or load direction. OSHA’s scaffold rule requires scaffold systems to support at least four times their maximum intended load (29 CFR 1926.451(a)(1)). That figure applies to scaffolds, not ordinary mounting brackets, but it shows why safety margins matter. Don’t transfer it directly. For uncertain or overhead installations, get the support material identified and have the assembly checked by a qualified engineer. I would not guess from a bracket’s appearance; a thick plate can still fail when its anchors pull out.
How to Choose the Right Mounting Bracket? — Define the Load and Support Requirements
| Requirement | What to Determine | Why It Matters | Example Assessment |
|---|---|---|---|
| Supported load | Record the total weight of the item, including attached parts and accessories. | The bracket and its fasteners must be suitable for the complete supported load, not just the main component. | A shelf holding a 12 kg device and 8 kg of stored items must be assessed for a total load of 20 kg. |
| Load direction | Identify whether the load acts downward, pulls away from the surface, pushes sideways, or combines these directions. | Brackets and anchors respond differently to shear forces and pull-out forces. | A wall-mounted shelf mainly creates downward shear, while a projecting sign can also pull outward on its upper fasteners. |
| Load position and leverage | Measure how far the load’s center of gravity sits from the mounting surface and fastener line. | An offset load creates a turning force, or moment, that can increase stress on the bracket and fasteners. | A 20 kg load centered 300 mm from a wall creates more leverage than the same load positioned close to the wall. |
| Load behavior | Determine whether the load is steady, repeatedly moving, vibrating, or subject to impact. | Repeated or sudden forces can require a different design and fastening approach than a stationary load. | A stationary display and a frequently opened folding panel should not automatically be treated as equivalent applications. |
| Supporting material | Identify the actual mounting surface, such as concrete, solid masonry, timber, or a framed wall with a board finish. | Fastener capacity depends on the substrate and installation; the bracket’s stated capacity alone does not establish the capacity of the complete assembly. | For a framed wall, locate suitable framing or use a fastening system specifically designed and rated for the board and application. |
| Fasteners and fixing points | Check the required fastener type, diameter, embedment, quantity, spacing, and edge distances against the relevant installation instructions. | Incorrect fasteners, insufficient embedment, or unsuitable spacing can weaken the connection. | Use fasteners compatible with both the bracket holes and substrate; do not assume a general-purpose screw is appropriate for masonry. |
| Bracket arrangement | Choose the number and spacing of brackets, and consider the stiffness of the supported item between them. | Load may not be shared evenly if brackets are unevenly spaced or the supported item flexes. | A long shelf may need multiple supports positioned to limit bending, rather than relying on two widely spaced brackets. |
| Safety margin and verification | Allow for uncertainty and foreseeable changes, and verify the design against the manufacturer’s ratings, applicable codes, or a qualified professional’s advice. | Ratings can depend on the exact bracket, fasteners, substrate, installation, and loading conditions; a single universal load figure is not reliable. | For overhead, public-use, or safety-critical installations, confirm the complete assembly’s capacity before installation. |
| Environment and durability | Consider moisture, outdoor exposure, corrosion, temperature, and contact with other materials. | Environmental conditions can affect bracket materials and fasteners over time. | For a damp or outdoor location, select a corrosion-resistant bracket and compatible fasteners suitable for that environment. |
Note: Examples are for assessment purposes, not certified load ratings. Confirm the capacity of the complete bracket, fastener, and substrate assembly for the specific installation.
Related Posts
-

Innovative Examples of the Best Mounting Bracket Solutions for Your Needs
-

Discovering Top Manufacturers for Best Wall Hangers and Effective Sourcing Solutions
-

Maximizing Space: Creative Uses for Floor Shelves in Small Living Areas
-

What Are the Top Storage Tray Types in 2026?
-

Exploring Innovative Mounting Hardware Solutions for Every Application
-

How to Install Slide Out Shelves for Better Kitchen Organization